|
DIY replacing a broken batten tip..
Batten tips are probably as strong as they've always been. Nevertheless they often break these days - especially the tips of the lowest 3 battens of the sail. This is not the place for in-depth finding of the causes for this problem, but it's probably associated with a careless de-rigging of the modern wide-sleeved race- or free-race sails. So, if you experience batten tip breakage pretty often, it's probably a good idea to try the de-rigging method of ... 1. easing the downhaul a little (perhaps without removing the boom); 2. "manually" pushing the camber inducers off the mast (and now removing the boom); letting the downhaul go.
The example here covers Neil Pryde, North and almost certainly a bunch of other brands, but some other brands (Gaastra and Maui Sails) at least earlier put their simpler battens together by means of a junction part made from plastic. In this case there's no problem at all, as the battens can be taken apart and put together almost without tools.
The most problematic part of a broken batten tip might very well be to have it removed from the sail. Here's a link to that issue.
|
|||
|
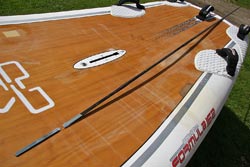
1.
The defect has been detected (bad performance and weird camber rotation), and the batten and the broken tip has been removed from the sail (see how). In this case it's a Neil Pryde batten from just below the boom cut-out.
Click the picture to enlarge.
|
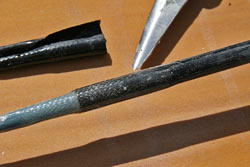
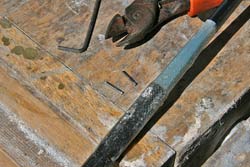
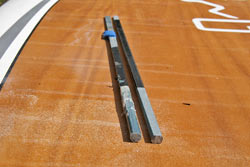
2.
The junction between the massive batten tip and the smaller tube is protected by a thin layer of shrink plastic. This is easily removed with a knife.
In the picture you can probably see the two stainless nails that fixate the batten tip to the tube. This may vary a little from brand to brand; the battens in the North Warps, for instance, are often fixated with just one nail of (what seems to be) copper.
In this case there's one more protecting layer made of glass fibre, and this has to be removed as well - either with a knife or by a little sanding.
Click the picture to enlarge.
|
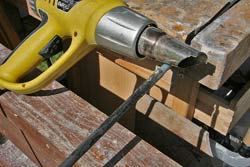
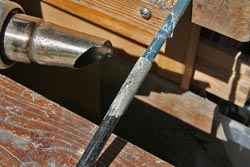
3.
The nails of course have to be removed, meaning they have to be knocked out. It may not be necessary, but it's most often a lot easier to knock the nails out, if you start with heating up the area.
Click the picture to enlarge.
|
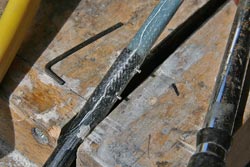
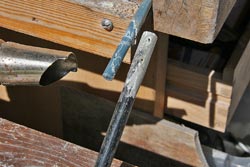
4.
Using some kind of a pin and a hammer to knock the nails out (the hex key used here is certainly not the best pin!).
Click the picture to enlarge.
|
|
5.
Done.
Click the picture to enlarge.
|
6.
The massive batten tip and the tube are also bonded with some epoxy-like glue. The gluing stuff has to be softened before it's possible to pull the parts from each other - and again the heat gun is the weapon to use.
Click the picture to enlarge.
|
7.
The massive batten tip and the tube has been twisted and pulled apart.
Click the picture to enlarge.
|
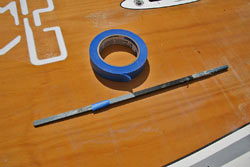
8.
To find the exact length of the batten tip you'll have to put the broken parts together (here with tape) and measure its length.
Click the picture to enlarge.
|
|
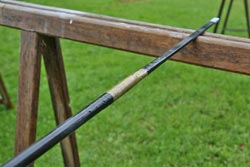
9.
A replacement batten tip has been cut in the right length, and as you see it has to be sanded a little to fit inside the tube (the new batten to the right).
Click the picture to enlarge.
|
10.
Here the new batten tip has been fitted inside the tube by means of some epoxy putty, a couple of small holes have been drilled and the nails have been knocked in place.
It's probably not that important to use some kind of epoxy to glue the parts together.
Click the picture to enlarge.
|
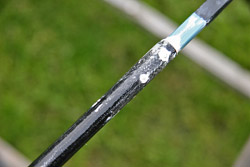
11.
You can choose to protect the junction, but it's probably not necessary. Here I've chosen to protect the junction with some epoxy wetted Kevlar - and that's definitely overkill.
Click the picture to enlarge.
|
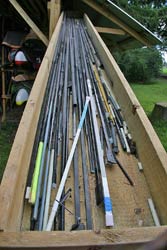
12.
Just for your inspiration: Battens are relatively vulnerable parts of (at least) modern wide sleeved camber sails, so why not build a little stock of batten parts to be used in case of a defect (for instance a broken batten tip)? This is our local stock of batten parts, allowing us to cope with almost every "batten-incident".
Click the picture to enlarge.
|